
mockupscreative.com – Art is a beautiful work that can be enjoyed by anyone. Art always provides aesthetic and peaceful value. Moreover, December is only a month away, so we need to prepare accessories to enliven a beautiful Christmas. One of them is to make unique DIY wood ornaments and of course, have high artistic value.
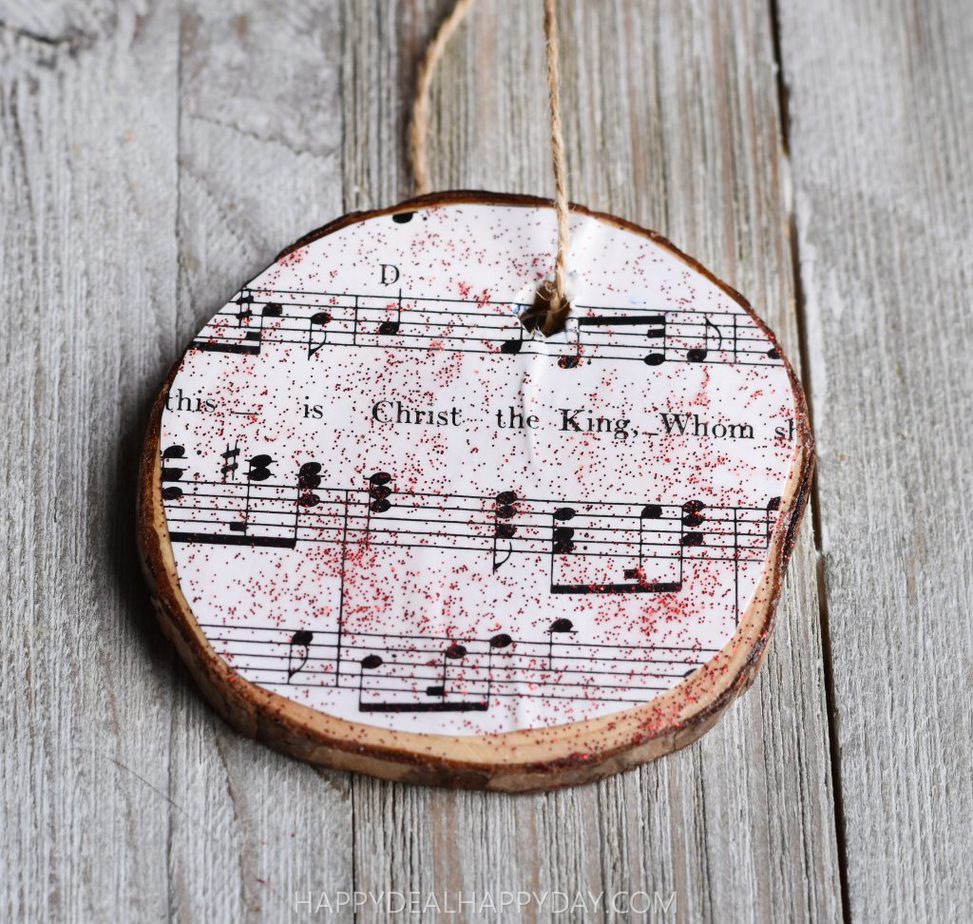
How To Make An Easy DIY Wood Slice Ornament
Who would have thought that making an ornament from wood is a unique and easy work of art? The methods used to make easy DIY wood ornaments include:
- The first step we can do is to cut a wooden twig into a disc and then make a hole using a drill at the top. To make holes in wood, it is highly recommended to use a drilling machine, where the drilling machine is the easiest tool to use.
- The next step is to smooth the surface using sandpaper so that the surface is not rough anymore, so the vinyl will easily stick well.
- The next step is to cut the paper in the form of words or whatever we want, we can decorate anything according to our wishes, besides we can also add glitter to add a beautiful impression on the vinyl wood surface.
- To make the appearance more perfect, we can add a rope to use as a hanger. We can tie the rope to the DIY wood ornaments that have been perforated.
Another Way To Make Useful DIY Wood Slice Ornaments
There are so many ideas for making DIY wood ornaments, ranging from easy ones to those with a level of difficulty in making them. Some ideas for making other useful works of art are:
1. Poster quotes
Another example of DIY wood ornaments ideas is to make poster quotes, we can use this poster for wall decoration or it can also contain important announcements. The materials used are also easy to get, such as used wood, wood glue, nails, and also wood paint. While the tools we need to make it are saws, carbon paper, brushes and pencils, and sandpaper.
How to make it is also quite easy, namely:
- The first step is to cut the wood according to the height and width that we want. We can make the surface flat or it can be different to make it look more natural and have a high artistic value.
- Next, prepare the wooden planks that have been arranged, then glue them all over the wood surface
- Then put a weight on the wood so that the wood can glue perfectly, then wait a while until the wood glue is completely dry or it can be left overnight.
- After the wooden boards are left overnight in dry conditions, then the next process is to sand all parts of the wood so that the entire surface becomes smoother and looks cleaner.
- Then prepare the writing design that we want to make, then make a pattern using a pencil on a wooden board that has been prepared.
- Prepare brushes and paints and start writing and painting carefully
- The last step is to screw on the back of the poster, so the poster can be hung on the wall beautifully.
2. Making flower pots out of wood
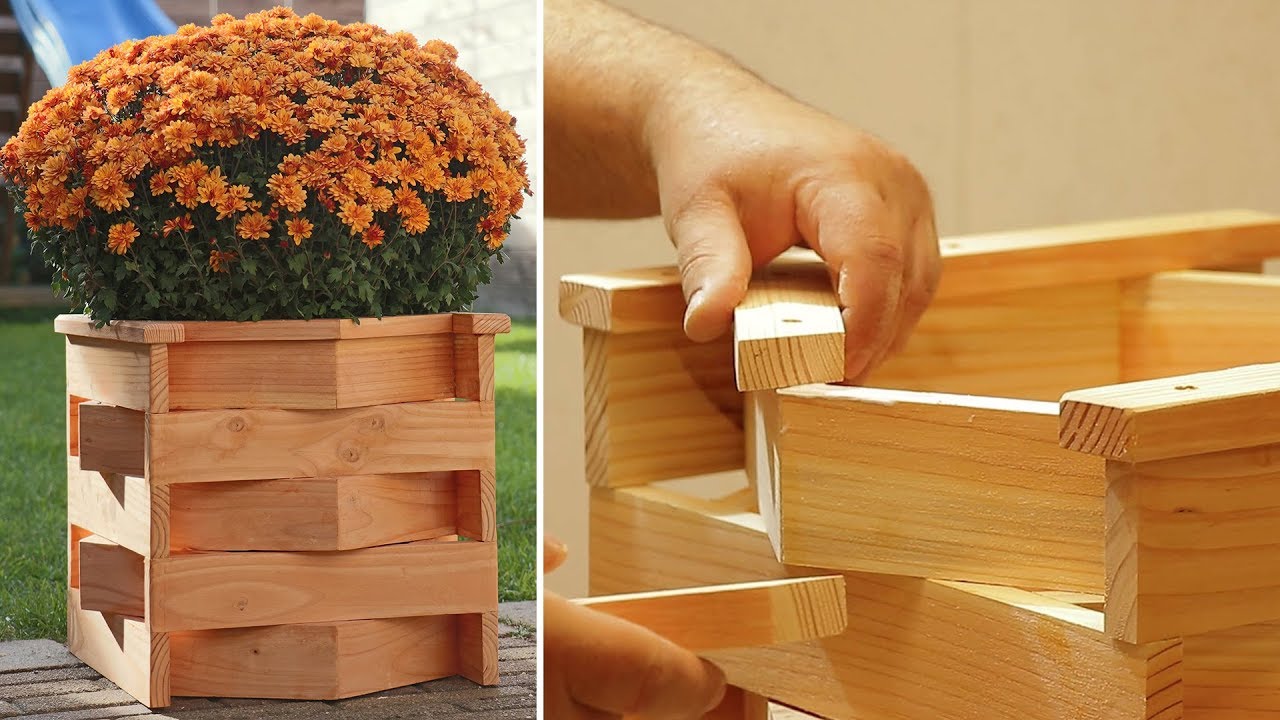
Another idea about DIY wood ornaments is to make wooden flower pots. Flower pots will be very useful for placing beautiful and various plants, using wood materials will make flower pots look natural.
To make DIY wood ornaments in the form of flower pots, we need several tools and materials, as for the tools and materials that need to be prepared such as used wooden boards, hemp rope, mini pots, colorful paint, and also nails and hammers.
As for how to make it is:
- The first step is to paint all the mini pots and wooden boards that will be used according to the color that suits your wishes and tastes
- The second step is to install screws or pot nails on the surface of the board
- Then hang the hemp rope using nails behind the wooden body
- Then fill the pot with soil and also the plants that we like, then a beautiful wooden pot is ready to be hung to beautify our home.
3. Multipurpose wooden box
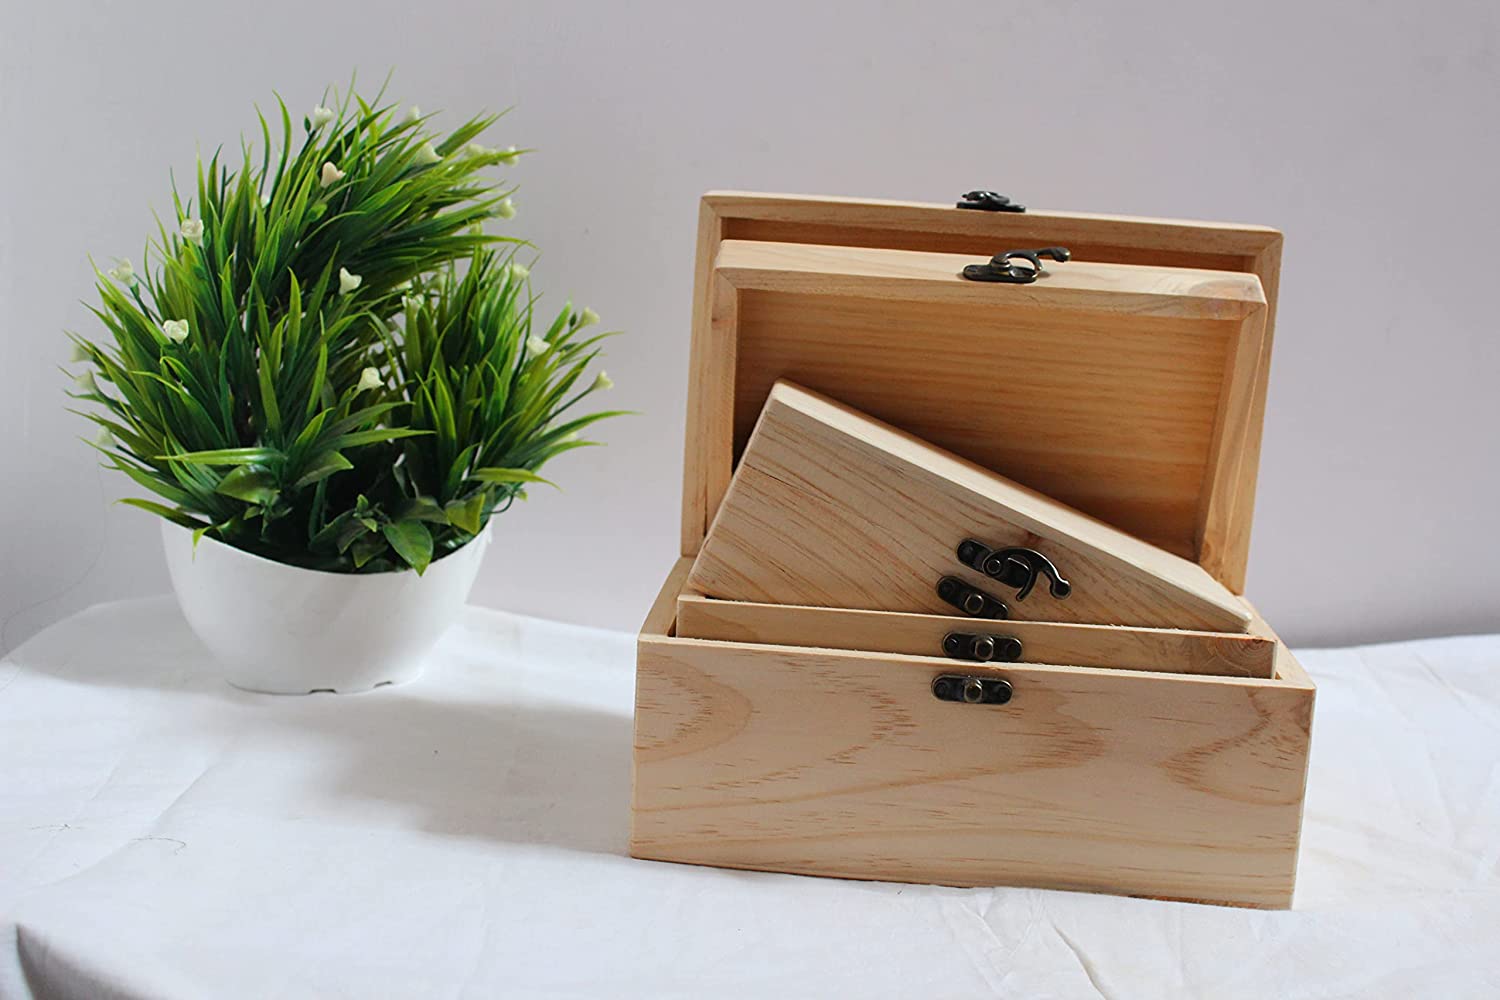
The next DIY wood ornaments is a versatile wooden box, it can be used to store tools or accessories to enhance the appearance of the house. The tools and materials used are also quite easy, namely used wooden boxes, wood glue, paint, small brushes, hook hangers, and hammer nails.
How to make :
- Prepare a wooden box, then shape the wooden box according to the desired shape and size, we can create various shapes to produce a place that is more aesthetic and has high artistic value.
- After finishing cutting and arranging, then the next thing we need to glue all the wooden boxes using wood glue, wait a while until the glue is completely dry
- After the glue is dry and perfectly glued, the next step is that we can color it according to our wishes, for minimalist results we can color it with white paint.
- The last step is to attach some hooks to hang, the easy way is to install it around like you are installing screws
- Versatile boxes are ready to be used to beautify our room.
There are many more ideas to make a work that uses wood as the main material, so we can be more creative in making various equipment used for our homes so that the house looks natural and natural because it uses very natural basic materials.
After reading the article about DIY wood ornaments, do you want to be creative too? That’s some unique and interesting information, hopefully, this article can provide knowledge and examples of creations that can be made easily using wood materials. So that we don’t throw away the used wood from the package, we can use it well. Good luck!
